A favicon, a short form of “favorite icon”, is the tiny image displayed on a web page’s title declared in web design. Its presence enables a user to quickly identify the specific website when navigating through several open tabs. By adding it to a website, it improves the visual appearance of a website, reinforcing a website’s brand identity. In this article, we discuss how to add a favicon on a WordPress website.

1. Prepare the Favicon Image
The first stage is to prepare the favicon image. This can be done after you are done designing your website, before taking it to production. The favicon image should be square preferably 16 x 16 pixels or 32 x 32 pixels. The image can be in several formats; .ico, .png, or .gif. For best results, ensure it is perfectly sized and optimized. A quick way to get a favicon that is well-optimized, use some online free favicon generator. eg Favicon.io
2. Upload the favicon to WordPress Media Library
Once the favicon image(s) are ready, navigate to your WordPress dashboard>> Media >> Add new and upload the required images.
3. Add the Favicon to your WordPress theme.
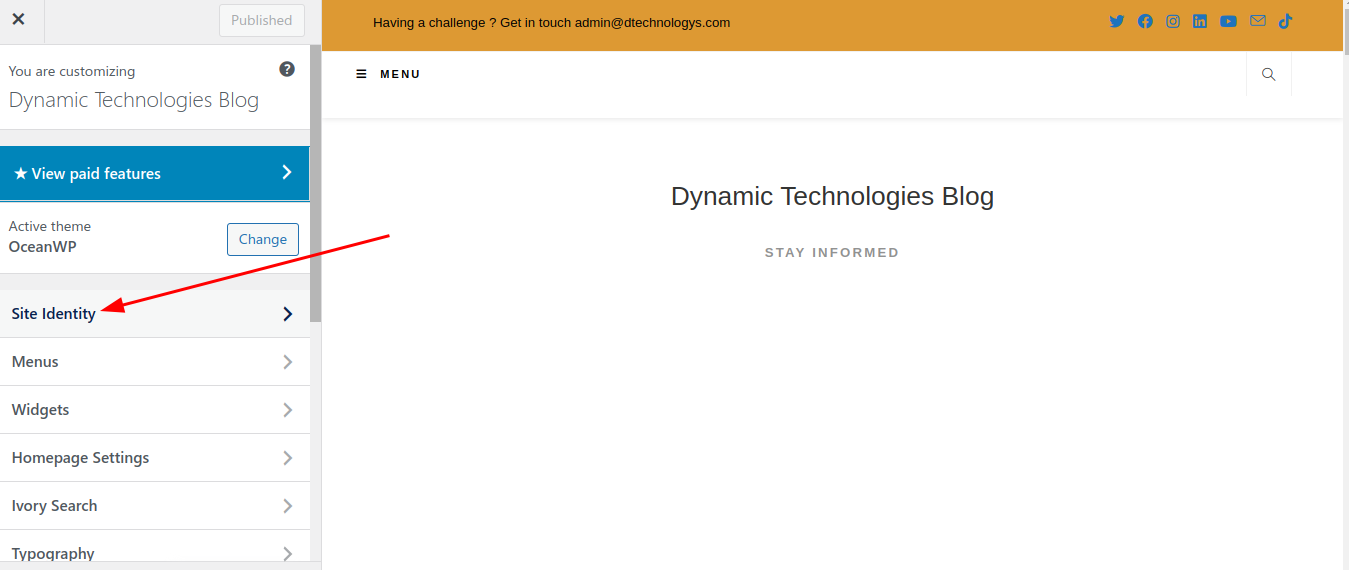
Once the upload is complete, go to “Appearance” >> “Customize” and check for “Site identity” option. If you find it hard to locate this option, use a favicon plugin to achieve this. check out the steps below.
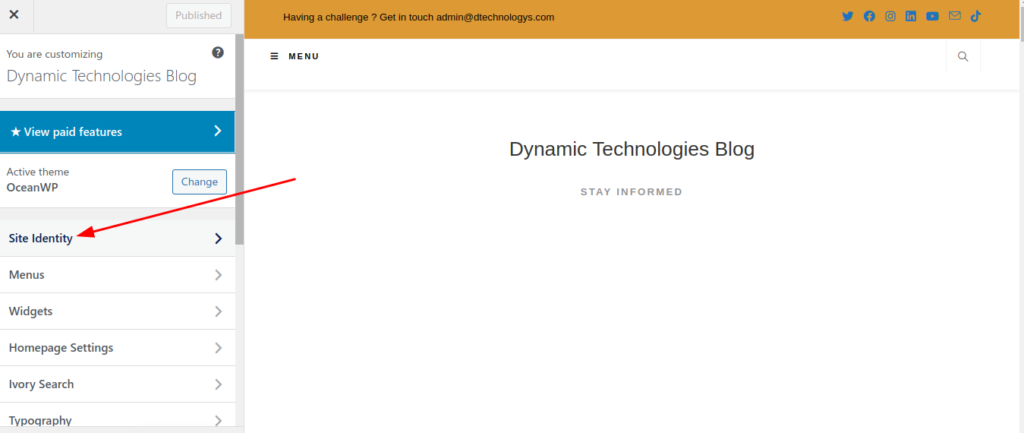
If there is an existing favicon, you can use the “Remove” or “Change image” option, otherwise “Select Site icon”. This opens the media library. Identify your favicon, select it, and click on the “Select” button. Proceed to crop the image if required. If the image is well-optimized, there will be no need to crop the image. Then publish the changes.
How to add a favicon on WordPress using a plugin
In some themes, the option to add a favicon may be missing, or hard to locate. If this occurs, it’s advisable to utilize a favicon plugin to accomplish the same objective. In this article, we use “Favicon by RealFaviconGenerator“, but you can check through for other options.
On your WordPress admin dashboard, hover on “Plugins” and Click on “Add new”. Search for “Favicon by RealFaviconGenerator“, install, and activate. Hover on WordPress settings and select Favicon. Next, choose an image that will be utilized to create a favicon. Once done, ensure to save the changes.