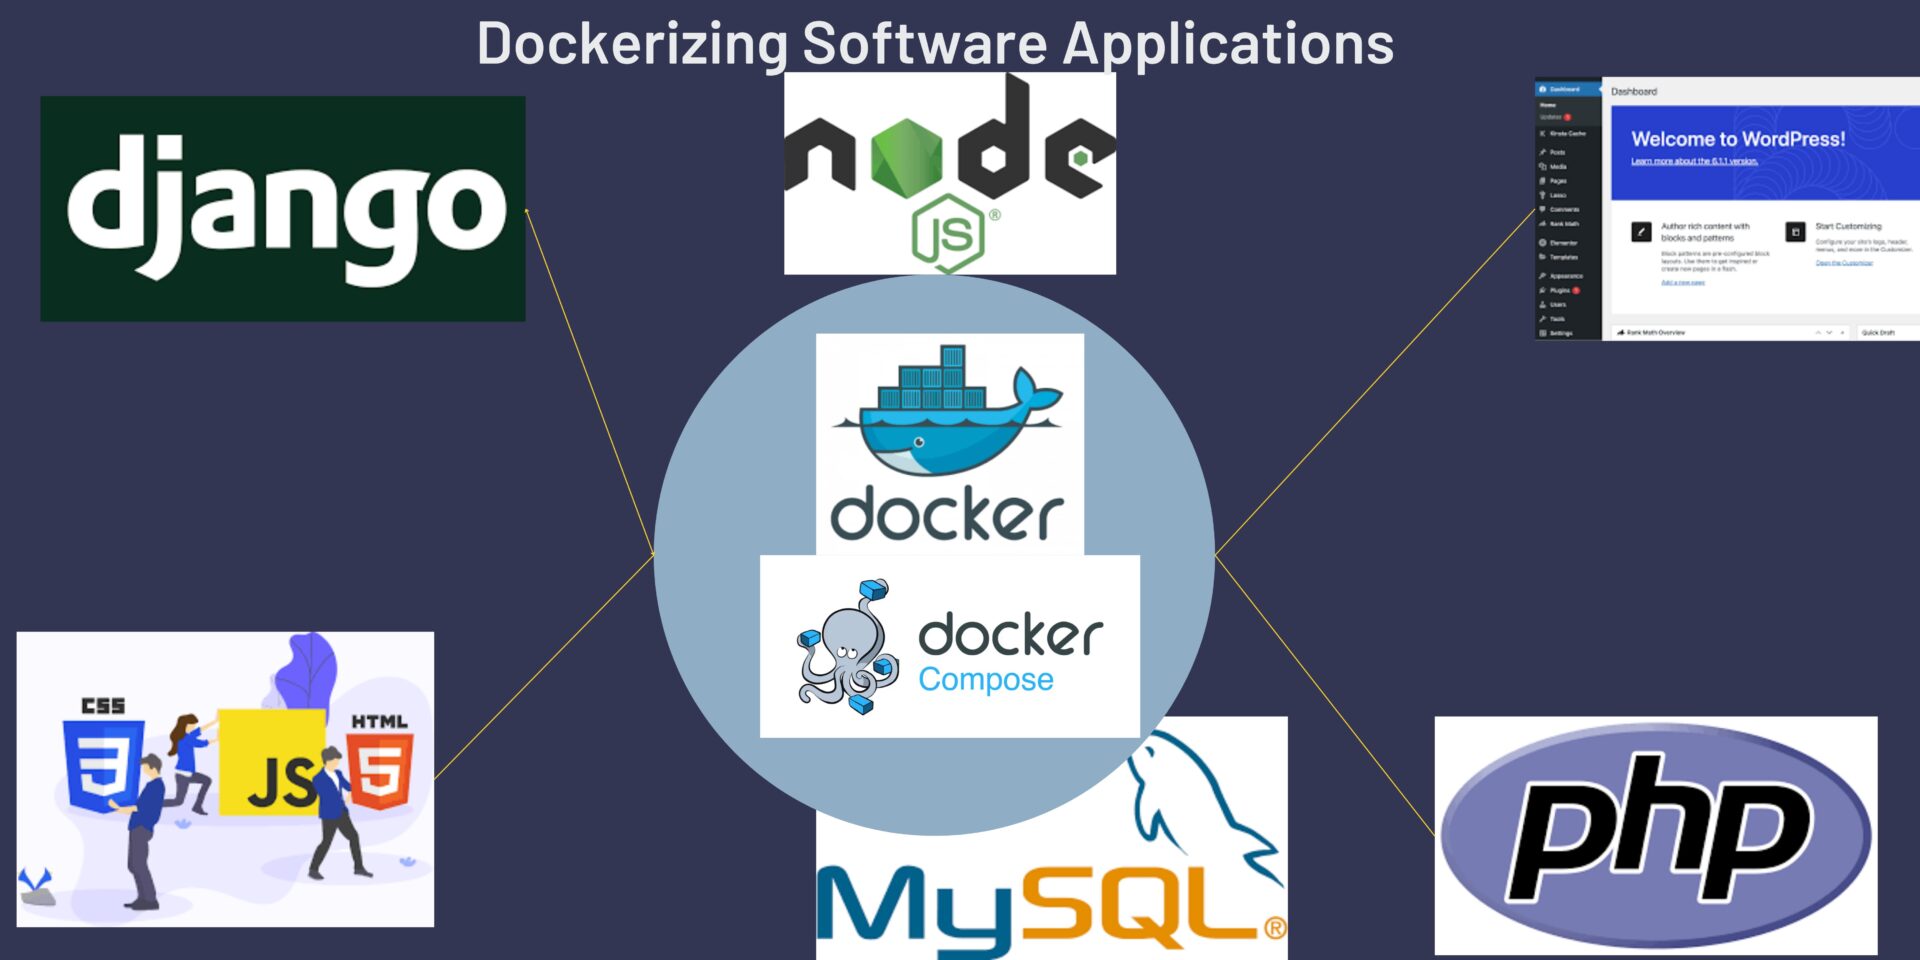
In the ever-evolving landscape of software development, the adoption of containerization has become a game-changer, empowering developers to streamline deployment processes and enhance scalability. One of the leading technologies in this realm is Docker, a platform that allows you to package applications and their dependencies into portable containers. In this blog, we’ll journey to demystify the art of Dockerizing Software Applications. The principles remain the same whether you’re dealing with web servers, databases, or custom services.
common Docker commands
docker run image >> downloads the image from online if not present on the local repository
docker ps >> lists all running containers
docker ps -a >> lists all containers both running or stopped
docker stop container-name >> stop running container
docker rm container-name >> remove container permanently
docker images >> lists all images
docker rmi image-name >> removes image ; first stop image to remove it
docker pull image-name >> pulls the image to local repository
docker inspect container-name >> gives more infor:: among them env definitions
Containerizing a Static Website(HTML, CSS, and javascript)
On the root folder of your project, create a file named Dockerfile and add the code below, then run the command that follows after the code:
# Use a lightweight base image
FROM nginx:alpine

# Set the working directory to the web root
WORKDIR /usr/share/nginx/html

# Copy all files and folders from the code directory to the container
COPY . .

# Expose the default Nginx port
EXPOSE 80

# Command to run when the container starts
CMD ["nginx", "-g", "daemon off;"]
docker build -t dockerusername/webapp-name .
#if you intend to push your image to dockerhub, you have to add your dockerusername, otherwise ignore it.
This Dockerfile utilizes the official Nginx image from the Alpine Linux distribution, a lightweight base for serving static content. It sets the working directory to the default web root of Nginx, copies the HTML file (index.html) and the CSS file (styles.css) into the container, exposes the default Nginx port 80, and starts Nginx in the foreground. This simple configuration allows you to dockerize a basic HTML and CSS website for quick and efficient deployment.
Containerizing a Static PHP Website
Create a Dockerfile in the same folder as the website files and add the following code.
# Use the official PHP image as the base image
FROM php:7.4-apache

# Set the working directory in the container
WORKDIR /var/www/html

# Copy the PHP files to the container
COPY . .

# Expose port 80 to the outside world
EXPOSE 80
This Dockerfile uses the official PHP image with Apache and sets the working directory to /var/www/html. It copies the contents of the current directory (your PHP files) to the container’s working directory. Now run the build command to create the docker image.
Containerizing a PHP project with MySQL using Docker compose
Ensure your PHP web application is well connected to the MySQL database before setting up docker-compose.
Step 1: Create a Dockerfile and add the following code. This should be done in the root directory of your project:
# Use the official PHP image
FROM php:8.1-apache

# Install required PHP extensions
RUN docker-php-ext-install mysqli

# Copy source files to the container
COPY ./ /var/www/html/

# Expose port 80 to make the web server accessible
EXPOSE 80
Step 2: Create docker-compose.yaml file in the root directory and add the following code. Adjust to suit your needs. Note the environment variables used to ensure they match the DB configurations for your PHP web app.
version: '3.3'
services:
  php-apache:
    restart: always
    build: .
    ports:
      - "8000:80"  # Map port 8000 on your local machine to port 80 on the container
    volumes:
      - ./:/var/www/html
    depends_on:
      - mysql
    networks:
      - app-network

  mysql:
    image: mysql:8.0
    restart: always
    environment:
      MYSQL_ROOT_PASSWORD: rootpassword
      MYSQL_DATABASE: dtechnol_php
      MYSQL_USER: dtechnol_php
      MYSQL_PASSWORD: test@1234
    ports:
      - "3306:3306"  # Optional: If you need MySQL accessible outside the container
    volumes:
      - mysql_data:/var/lib/mysql
    networks:
      - app-network

volumes:
  mysql_data:

networks:
  app-network:
To start the server to run the containers:
docker-compose up --build   #To start web app/refresh to reflect changes
docker-compose down  #to destroy the containers
Containerizing a Django project
FROM python:3

ENV PYTHONUNBUFFERED 1

WORKDIR /app
COPY requirements.txt ./

RUN pip install --upgrade pip
RUN pip install -r requirements.txt

COPY . ./

EXPOSE 8000

CMD ["python", "manage.py", "runserver", "0.0.0.0:8000"]
Containerize a Django application using MySQL Database
Dockerizing a Django application and connecting it to a MySQL database involves creating a Dockerfile, a Docker Compose file, and configuring Django settings to use MySQL. Here’s a step-by-step guide:
1. Dockerfile
Create a Dockerfile in the root of your Django project:
# Use an official Python runtime as a parent image
FROM python:3.9

# Set environment variables
ENV PYTHONDONTWRITEBYTECODE 1
ENV PYTHONUNBUFFERED 1

# Set the working directory in the container
WORKDIR /app

# Copy the dependencies file to the working directory
COPY requirements.txt /app/

# Install any needed packages specified in requirements.txt
RUN pip install --no-cache-dir -r requirements.txt

# Copy the current directory contents into the container at /app
COPY . /app/

# Expose port 8000 to allow communication to/from server
EXPOSE 8000

# Run the application
CMD ["python", "manage.py", "runserver", "0.0.0.0:8000"]
2. Docker Compose
Create a docker-compose.yml file in the root of your project:
version: '3'

services:
  db:
    image: mysql:8.0
    restart: always
    environment:
      MYSQL_DATABASE: 'djangodb'
      MYSQL_USER: 'djangouser'
      MYSQL_PASSWORD: 'userpass'
      MYSQL_ROOT_PASSWORD: 'rootpass'
    ports:
      - '3306:3306'
    volumes:
      - db_data:/var/lib/mysql

  web:
    build: .
    restart: always
    command: python manage.py runserver 0.0.0.0:8000
    volumes:
      - .:/app
    ports:
      - '8000:8000'
    depends_on:
      - db
    environment:
      - DATABASE_HOST=db

volumes:
  db_data:
Replace the environmental variables with your Django database settings for the database, user, and password.
Django
gunicorn
cryptography
pymysql

#If you have them in your requirements.txt file, you may leave the versions as they are. What we have here pulls the latest versions.
3. Django Settings
Update your Django settings.py to use the MySQL database: Also see an article: How to Connect a Django Project to MySQL Database
DATABASES = {
    'default': {
        'ENGINE': 'django.db.backends.mysql',
        'NAME': 'djangodb',
        'USER': 'djangouser',
        'PASSWORD': 'userpass',
        'HOST': 'db',
        'PORT': '3306',
    }
}
5. Build and Run
Open a terminal in the directory where your docker-compose.yml is located and run:
Ensure to establish the docker-compose version that is installed. Quick check:
docker compose --version
docker-compose --version

#use the one available and that works correctly.
docker-compose up -d
#You might need to restart the web container.
docker-compose up -d --build #whenever you make changes, you can rebuild your images.
docker-compose down #to stop and destory the containers.
#To run other Django related commands exec into web container or use the following example.
docker exec -it web-container-id python manage.py createsuperuser
Important commands to troubleshoot should errors occur.
docker restart container_id   #To restart a container
docker exec -it container_id python manage.py migrate   #do db migration
docker exec -it container_id python manage.py createsuperuser #create a superuser
docker logs container_id #inspect container logs incase something goes wrong
How to Containerize a Flask Project
# Use the official Python image as the base image
FROM python:3.8

# Set the working directory in the container
WORKDIR /app

# Copy the requirements file into the container
COPY requirements.txt .

# Install the dependencies
RUN pip install --no-cache-dir -r requirements.txt

# Copy the entire project into the container
COPY . .

# Expose port 5000 to the outside world
EXPOSE 5000

# Define the command to run your application
CMD ["python", "app.py"]
Containerizing a NodeJs project
# Use the official Node.js image as the base image
FROM node:14

# Set the working directory in the container
WORKDIR /app

# Copy package.json and package-lock.json to the container
COPY package*.json ./

# Install dependencies
RUN npm install

# Copy the rest of the application code to the container
COPY . .

# Expose port 3000 (or the port your app is using)
EXPOSE 3000

# Define the command to run your application
CMD ["node", "app.js"]
Containerizing a WordPress application
Dockerizing WordPress involves creating a Docker environment with WordPress and a database server. Docker Compose is commonly used for this purpose, allowing you to define and run multi-container Docker applications.
1. Create a docker-compose.yml File:
Create a file named docker-compose.yml in a new directory. This file defines the services (WordPress and MySQL) and their configurations:
version: '3'

services:
  wordpress:
    image: wordpress:latest
    ports:
      - "8000:80"
    environment:
      WORDPRESS_DB_HOST: mysql
      WORDPRESS_DB_USER: wordpress
      WORDPRESS_DB_PASSWORD: wordpress
      WORDPRESS_DB_NAME: wordpress
    volumes:
      - ./wp-content:/var/www/html/wp-content

  mysql:
    image: mysql:latest
    environment:
      MYSQL_ROOT_PASSWORD: wordpress
      MYSQL_DATABASE: wordpress
      MYSQL_USER: wordpress
      MYSQL_PASSWORD: wordpress
    volumes:
      - ./mysql-data:/var/lib/mysql
2. Create a wp-content Directory:
Create a directory named wp-content in the same location as your docker-compose.yml file. This directory will be used to persist WordPress uploads and themes.
3. Build and Run the Docker Containers:
Open a terminal, navigate to the directory containing your docker-compose.yml file, and run:
docker-compose up -d #This command builds the images and starts the containers in detached mode.5. Stop and Remove Containers:
To stop and remove the containers, run:
docker-compose downThis command stops and removes the containers, but it retains the data volumes for wp-content and the MySQL database
Containerizing a Java Application
To dockerise a Java application, first build the application. There are several ways to create a build of a Java application, but in this case, we will use Maven. Run the build command:
mvn clean package #a build of the code is stored the targets folder: .jar fileOnce a build has been created, create a Dockerfile in the root directory of your project to create a docker container
# Start with a base image containing Java runtime
FROM openjdk:17-jdk-slim

# Set the working directory inside the container
WORKDIR /app

# Copy the Maven build output (JAR file) into the container. Adjsut the name as needed.
COPY target/Quizeapp-0.0.1-SNAPSHOT.jar app.jar

# Expose the port on which your Spring Boot application will run
EXPOSE 8080

# Run the JAR file
ENTRYPOINT ["java", "-jar", "app.jar"]
Create a docker-compose.yml file containing the DB details and the environment variable details. Adjust the database details as needed.
version: '3.3'

services:
  postgres:
    image: postgres:14
    container_name: quiz_postgres
    environment:
      POSTGRES_DB: questiondb
      POSTGRES_USER: postgres
      POSTGRES_PASSWORD: manpass@2015
    ports:
      - "5432:5432"
    volumes:
      - postgres_data:/var/lib/postgresql/data

  springboot-app:
    build: .
    container_name: quiz_app
    ports:
      - "8080:8080"
    environment:
      SPRING_DATASOURCE_URL: jdbc:postgresql://postgres:5432/questiondb
      SPRING_DATASOURCE_USERNAME: postgres
      SPRING_DATASOURCE_PASSWORD: manpass@2015
    depends_on:
      - postgres

volumes:
  postgres_data:
Now run the following command to run your container:
docker-compose up -d #to run the container in detach mode.Make a donation to support us
Web Hosting and email hosting Packages
Related content:
- A Practical Tutorial for Dockerizing Software Applications
- How to Configure a Docker App to a Domain Name
- Getting Started with Docker | Docker commands
- How To Run Scripts in Linux
- Deploy a Django Application on EC2 Instance with Nginx
- How to configure a domain to a docker container and install an SSL certificate on AWS