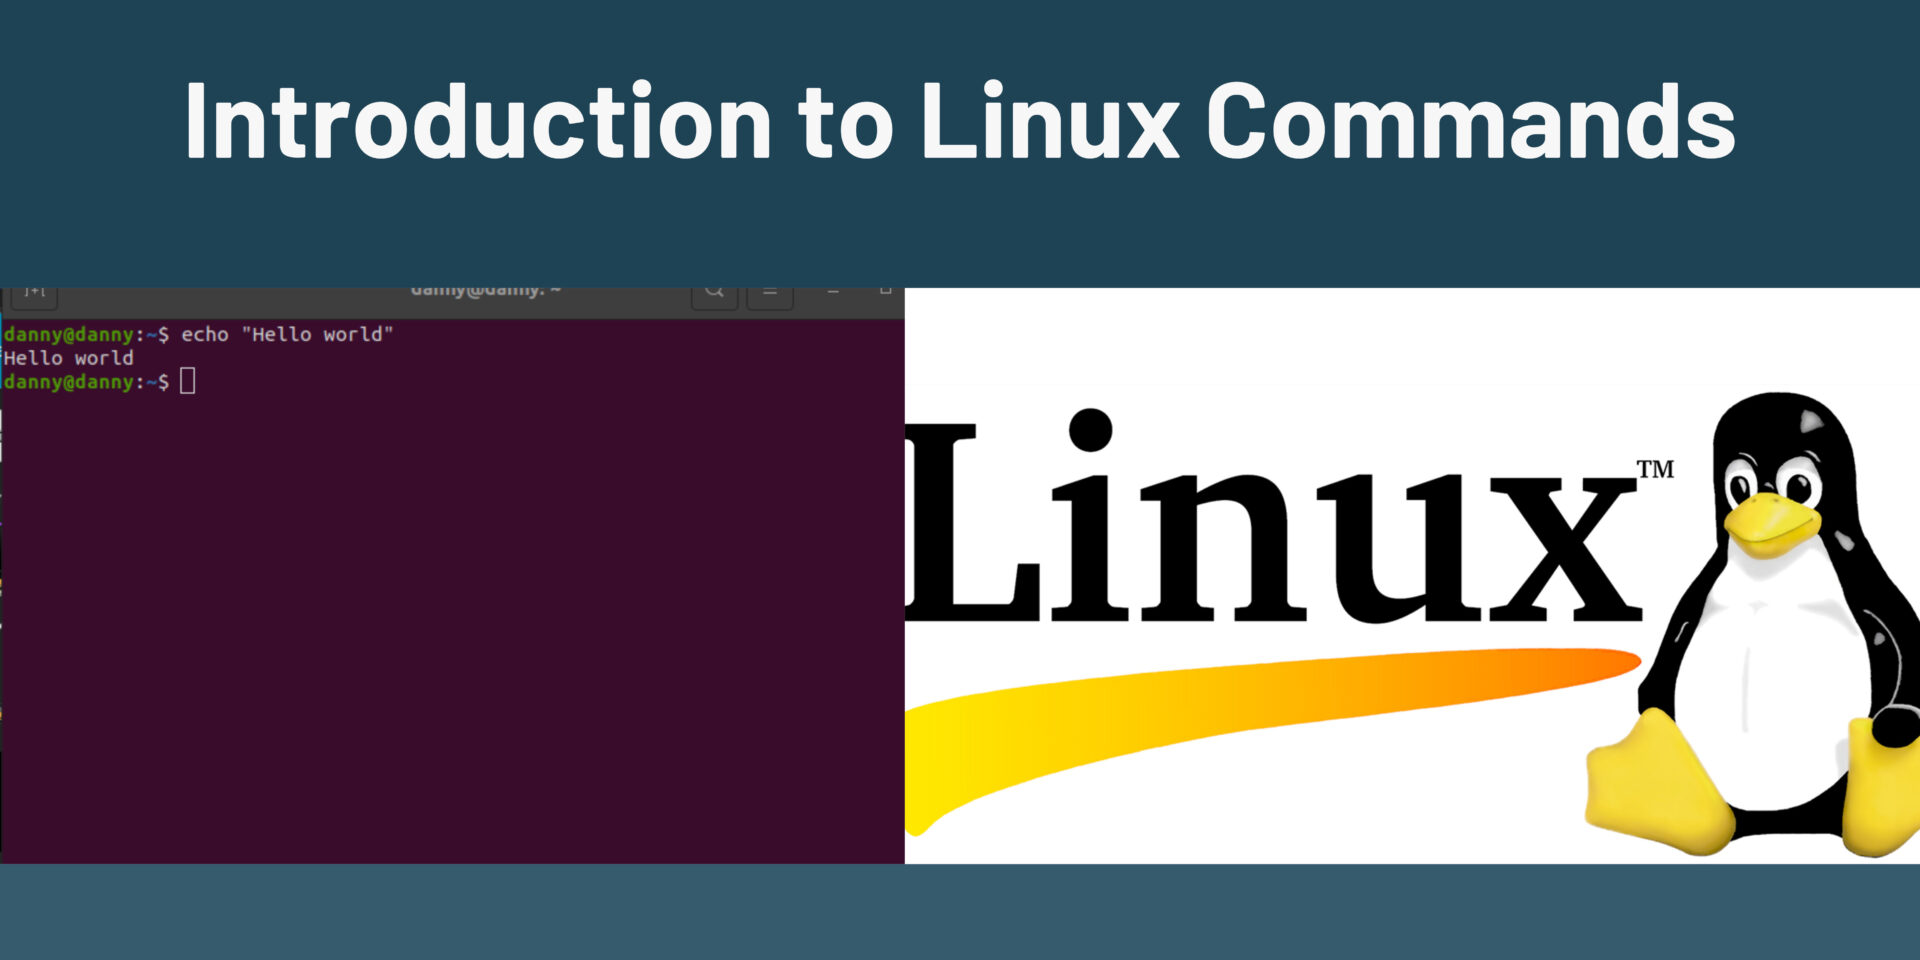
Welcome to the world of Linux, where the command line is not just a powerful tool but a gateway to unlocking the true potential of this open-source operating system. Understanding Linux commands is a fundamental skill that empowers you to navigate, manipulate, and control your system with precision. In this guide, we embark on a journey through the introduction to Linux commands, demystifying the command line interface and unveiling the keystrokes that hold the key to a world of efficiency and control. Get ready to embrace the command line and discover the limitless possibilities that Linux commands bring to your computing experience.
1. Introduction to Linux
1.1 Understanding the Linux Operating System
Define: Linux is an open-source, Unix-like operating system kernel first created by Linus Torvalds in 1991. It is the foundation of various operating systems known as Linux distributions (distros).
Key Characteristics:
- Open source and freely available.
- Multi-user and multitasking capabilities.
- Security and stability.
- Compatibility with a wide range of hardware.
1.2 Examples of popular Linux Distributions
- Ubuntu
- Red Hat
- Debian
- Parrot
- Kali
- CentOs
1.3 CLI VS GUI
Advantages of CLI
- Efficiency: Performing tasks often faster than graphical interfaces.
- Scripting: Automation of repetitive tasks through scripts.
- Remote Access: SSH allows secure remote connections.
- Resource Efficiency: CLI uses fewer system resources compared to GUI.
2. Getting Started with Linux Commands
2.1 Logging into a Linux System
- Local Login: Physically at the machine, using a keyboard and monitor.
- SSH (Secure Shell)*: Remotely access a machine over a network.
2.2 Overview of the Linux Terminal:
Components:
- Shell: Interpreter that processes commands. Common shells include Bash, Zsh, and Fish.
- Prompt: Indicates readiness for user input.
- Command Line: Area for entering commands.
- Terminal Emulator: Software that emulates a physical terminal.
2.3 Basic Commands for Navigation
cd (Change Directory):
Change the current working directory.
cd /path/to/directoryls (List):
List files and directories in the current directory.
lspwd (Print Working Directory):
Display the current working directory’s full path.
pwdPractice Exercise:
- Log into a cloud server using SSH. Learn how to use an IP and a hostname.
- Navigate through directories using cd, list contents with ls, and print the working directory with pwd.
3. File and Directory Management
3.1 Creating and Deleting Files and Directories:
mkdir (Make Directory):
Create a new directory.
mkdir directory_nametouch:
Create an empty file or update the access and modification time of a file.
touch filenamerm (Remove):
Remove files or directories.
rm filename
rm -r directory_name  # Remove directory and its contents
3.2 Copying and Moving Files and Directories:
cp (Copy):
Copy files or directories.
cp source destinationmv (Move):
Move files or directories (also used for renaming).
mv source destination3.3 Listing and Viewing File Content
ls (List):
List files and directories in the current directory.
lscat (Concatenate):
Display the contents of a file.
cat filenamemore and less:
View the contents of a file one screen at a time.
more filename
less filename
Practice Exercise:
- Create a directory, navigate into it, and create files using touch.
- Copy and move files between directories using cp and mv.
- List files and view their content using ls, cat, more, and less.
4. Text Manipulation
4.1 Working with Text Files:
echo:
Display a line of text or enable/disable the echoing of commands.
echo "Hello, Linux!"Text Editors:
nano: Simple text editor for beginners.
nano filenamevim: Powerful and efficient text editor.
vim filename4.2 Searching for Text in Files:
grep (Global Regular Expression Print):
Search for a specific pattern or text in files.
grep pattern filename4.3 Redirecting and Combining Commands:
> (Output Redirection):
Redirects command output to a file, overwriting existing content.
command > filename
>> (Append):
Appends command output to a file.
command >> filename
| (Pipe):
Passes the output of one command as the input to another.
command1 | command2
Practice Exercise:
- Use echo to create and display text.
- Create and edit text files with nano and vim.
- Search for specific patterns in files using grep.
- Redirect and combine commands using >, >>, and |.
5. Permissions and Ownership
5.1 Understanding Linux File Permissions:
Permissions are represented using a three-character string for each category (user, group, others).
To check on file permissions:
ls -l filename  #returns the permission of the named file
ls -l    #returns a list of files in the current directory, alongside their permissions.
Three Permission Categories:
- User (u): Owner of the file.
- Group (g): Users in the file’s group.
- Other (o): Everyone else.
Three Permission Types:
- Read (r): Permission to read the file.
- Write (w): Permission to modify the file.
- Execute (x): Permission to execute the file or access a directory.
Permission Representation:
Permissions can also be represented numerically using a three-digit octal number. Each digit corresponds to a permission category, and the value is calculated by summing the values assigned to the read, write, and execute permissions:
4 for read (r)
2 for write (w)
1 for execute (x)
For example:
rwx is represented as 7 (4 + 2 + 1).
rw- is represented as 6 (4 + 2).
r– is represented as 4 (4).
5.2 Changing File Permissions:
chmod (Change Mode):
Modify file permissions.
chmod permissions filename
Numeric Representation:
Numeric values (e.g., 755) represent combinations of read, write, and execute permissions.
Changing File Ownership:
5.3 chown (Change Owner):
Change the owner and/or group of a file.
chown new_owner:new_group filenameExamples:
# Grant read and write permissions to the user
chmod u+rw filename

# Remove execute permission from the group
chmod g-x filename

# Add execute permission for others
chmod o+x filename

# Set specific permissions using numeric representation (e.g., read and write for user, read-only for group and others)
chmod 644 filename
Explain what permission 644 means
File permission 644 is a numeric representation of the permissions assigned to a file in Linux. In the context of the three-digit octal number 644, each digit corresponds to a specific permission category: user (owner), group, and others. Here’s a breakdown of what 644 means:
User (Owner):
- 6 corresponds to read (r) and write (w) permissions.
- The owner of the file has read and write permissions but does not have execute permission.
Group: - 4 corresponds to read (r) permission.
- Members of the group associated with the file have only read permission.
Others: - 4 corresponds to read (r) permission.
- Other users (those not the owner and not in the group) also have only read permission.
Interpretation: - The owner can read and modify the file (rw-).
- Members of the group can read the file (r–).
- Others (any user not the owner or in the group) can also read the file (r–).
Symbolic Representation:
The symbolic representation of 644 is rw-r–r–, where: - rw-: Read and write permissions for the owner.
- r–: Read-only permissions for the group.
- r–: Read-only permissions for others.
Practice Exercise:
- Display the current permissions and ownership of a file using ls -l.
- Use chmod to change permissions on a file.
- Experiment with both symbolic and numeric representations.
- Use chown to change the owner and group of a file.
6. Package Management
6.1 Introduction to Package Managers:
Package Manager Definition:
A tool for installing, updating, and managing software packages on a Linux system.
Common Package Managers:
- apt (Advanced Package Tool): Used by Debian and Ubuntu-based systems.
- yum (Yellowdog Updater Modified): Used by Red Hat-based systems.
Package Repository:
A centralized location where software packages are stored and can be downloaded and installed.
6.2 Installing and Removing Software Packages:
Installing with apt:
sudo apt install package_nameInstalling with yum:
sudo yum install package_name
Removing with apt and yum:
sudo apt remove package_name
sudo yum remove package_name
6.3 Updating the System and Installed Packages:
Updating with apt:
sudo apt update      # Fetches the latest package information
sudo apt upgrade     # Upgrades installed packages
Updating with yum:
sudo yum update # Fetches and installs updatesPractice Exercise:
- Install a package using apt or yum.
- Remove the installed package.
- Update the system and install packages.
Make a donation to support us
Web Hosting and email hosting Packages
Related articles:
- A Practical Tutorial for Dockerizing Software Applications
- How to Configure a Docker App to a Domain Name
- Getting Started with Docker | Docker commands
- How To Run Scripts in Linux
- Deploy a Django Application on EC2 Instance with Nginx
- How to configure a domain to a docker container and install an SSL certificate on AWS